Once in a while I get all inspired and form crazy creative
ideas of being talented and artistic. To be honest, my siblings are incredibly
creative and clever. Me, not so much. However, I'm a pretty quick learner J
So, I began
my Saturday DIY living room photo project. And here begins the start of an
ongoing living-room-kitchen-make-over. And isn't that what summer breaks are
for?
Step
1-
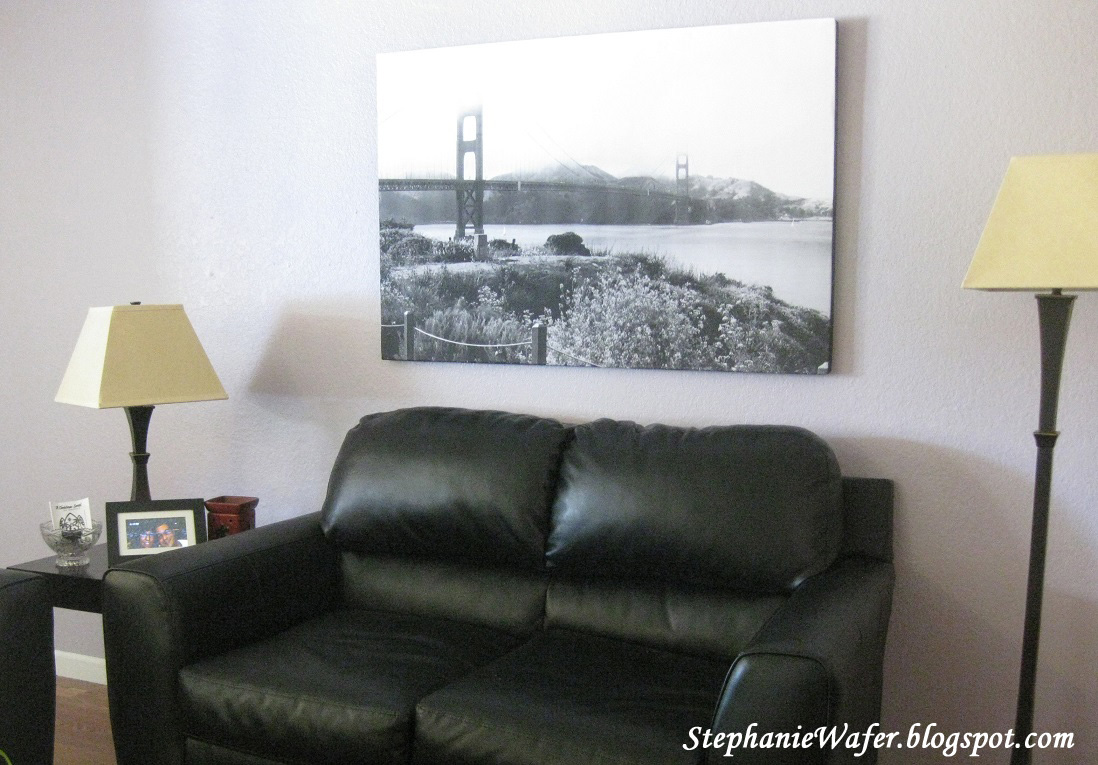
Go to San Francisco and take too many photos of
the Golden Gate Bridge than any person could ever use or want. Ok, you can skip
this step, but we were there, so I utilized the opportunity.

Step
2-
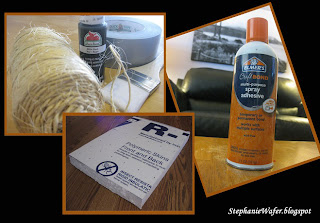
Purchase/gather supplies:
Foam Insulation Board from either Lowes or Home
Depot
Elmer's Spray Adhesive
Acrylic Paint (I used black) and Paint Brush
Duct Tape and Twine (for hanging)
Step
3-
Choose that perfect photo and turn it black &
white. I use Adobe Photoshop Elements. Once you've cropped and edited, go to Staples.com
and choose Engineer Prints. (It's important to decide what size you want your
finished print to be before the editing process.) My local Staples offers these
prints in 18"x24", 24"x36", and 36"x48". I chose 36"x48", downloaded my print,
and picked it up just a few hours later.

Step
4-
Cut your foam board to fit your large print using
a utility knife. I cut it slightly smaller than my print so I could wrap the
print around the sides of the board, leaving crisp, clean edges.
Step
5-
Remove the sticker from the front of your foam
board and spray, spray, spray. Use lots of spray glue to ensure a secure bond.
Step
6-
Now this is the tricky/difficult part. Carefully lay
your print on your sticky foam board and press all bubbles and wrinkles out.
Step
7-
Spray the edges of your board and wrap each side,
pulling as tightly as possible to get that crisp edge. I then put Duct Tape around the edges to
ensure years of security J
Step
8-
Using your acrylics, paint the edges of your
photo. You can paint around the side edges only, or bring the paint to the
front as well to give it a fun, less crisp look. I used black, but any color
would add character to your photo.


Step
9-
After the paint is dry, flip your photo over. Now
make your beautiful portrait ready to display by using your twine and duct
tape. Use lots of tape so your twine doesn't slip out.

Step
10-
Flaunt your enormous wall hanging for all to enjoy
J

This is the first one I made for display in my
classroom. You can see I brought the black paint onto the front of the photo, giving
it more character.

These were made by printing color 8½" x
11" photos from my home printer.

This is next on the DIY list! The docks of San
Francisco with Alcatraz in the background.

Do you have a DIY project to share? Would you
leave your link here for us? Thanks for visiting!
Linking up with The Better Mom.

Linking up with The Better Mom.
Follow me on Facebook
Oh my goodness. I LOVE this! Maybe a little too much because I love photography, I love DIY, and I love San Francisco. I could do step 1 for many hours. That bridge is just beautiful to me. I have so many pictures of it. And that one of the docks and Alcatraz, so great! Woo! My excitement level just got overwhelmed! haha :)
ReplyDeleteI know exactly what you're experiencing, Jess! Let me know if you make one!!! Funny thing is, I'm not a photographer at all, but if you snap enough photos, you're bound to get some great ones, right?
DeleteBTW, Step 9 DID NOT WORK. after my wall art hung on the wall for a few hours, I noticed it slowly getting lower and lower as the twine slipped out of the tape. I tried rubber cement and duct tape again, but that didn't work either. I'm sure it would work with a smaller, lighter one though. So, my next plan of action is to simply put screws into the wall and press the foam art into the screws. I'll come back and let you know if it works. But if you get to this project, and get it hung, be sure to come give us some pointers!
Blessings, Jess, and thanks for your visit!